

AARP Hearing Center


Tuesday, January 29, 2018
Welcome to AARP Maryland's Tech Tip Tuesday! A monthly tech tip blog created by Communications Intern Henry Kenney III.
Learn how to take a screenshot and navigate your photos app.
*Note: These tips are applicable only to iPhone.
How to take a Screenshot on an iPhone
Taking a screenshot is very useful when trying to capture something from whatever screen you're looking at on your iPhone .
For example, did you find a recipe for your favorite dessert that you want to keep forever? Instead of constantly going back to the original web-page you can take a screenshot of the recipe and have it saved in your device's photo library for easy access .
You could also be enjoying a hilarious online video and want to capture one particular frame. Pausing the video and taking a screenshot lets you capture that frame of the video and send it to your friends or post on social media.
The process is very easy and only requires the pressing of the external buttons on your device. So, let's jump right in! Below are step-by-step directions for all versions of iPhone, with and without a physical home button.
*The following directions are for all iPhones up to the 8 Plus*
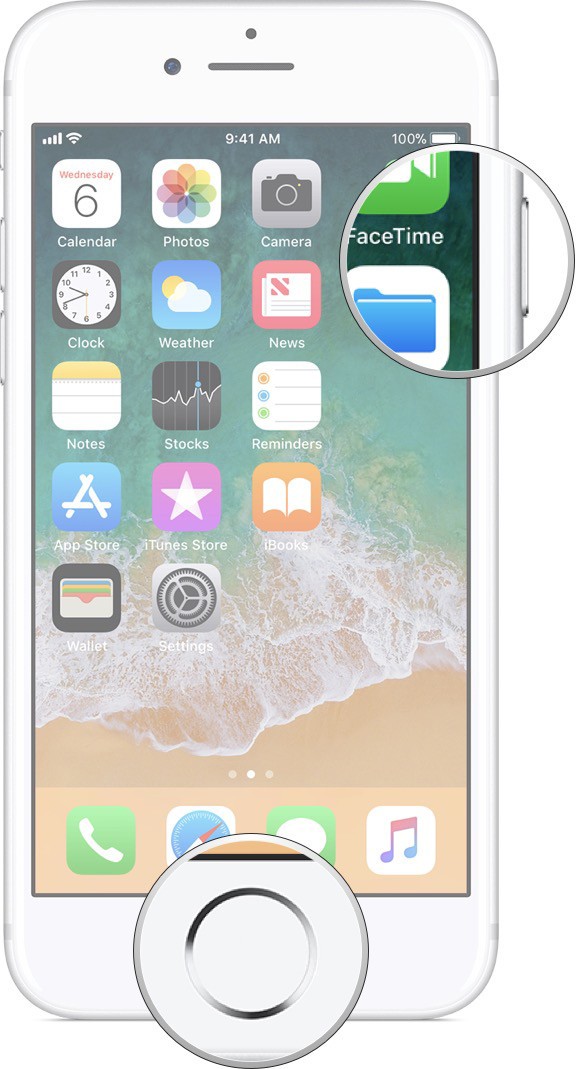
Step 1 - Go to the exact screen you want to capture.
Step 2 - Press the power/lock button on the right side of the phone and the home button exactly at the same time.
Step 3 - The screen will briefly flash white if you did it correctly.
Step 4 - Navigate to your phone's photo gallery and your screenshot will be the latest image saved on your phone!
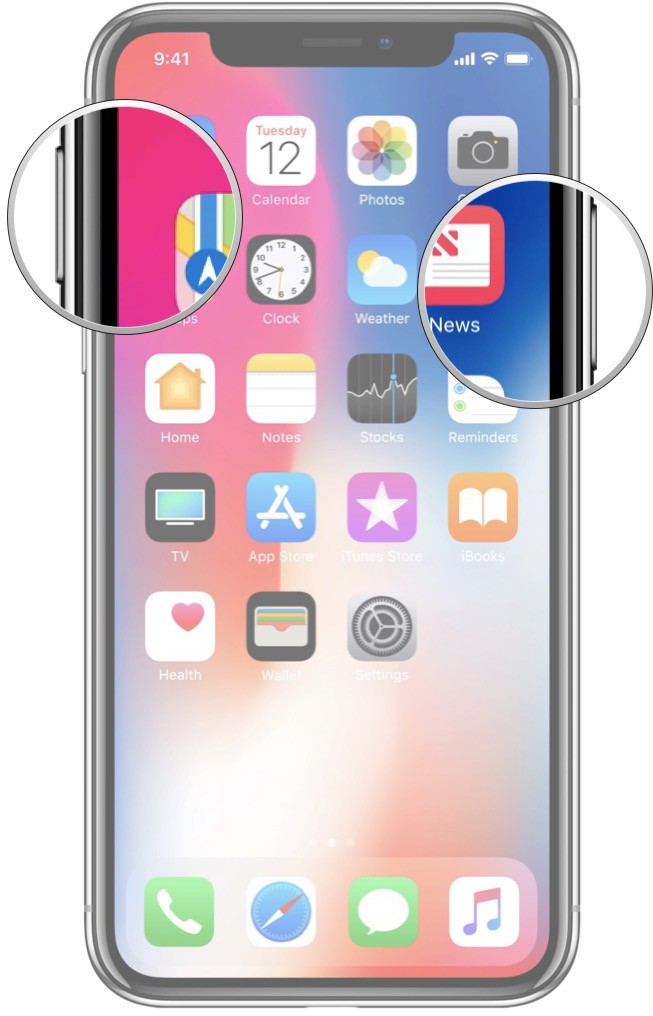
*The following directions are for the iPhone X, XS, XR, and XS Max*
Step 1 - Go to the exact screen you want to capture.
Step 2 - Press the power/lock button and the volume up button at the same exact time.
Step 3 - The screen will flash white if you did it correctly. Tap on the small screenshot image that has appeared in the lower left corner of your screen to crop or edit the screenshot if you desire. When finished, tap "Done" in the upper left-hand corner.
Step 5 - Tap "Save to Photos."
Step 4 - Navigate to your phone's photo gallery and your screenshot will be the latest image saved on your phone!
Need instructions on how to work your phone? Want clarity on how to use a particular app? Send any questions and concerns to hkenney@aarp.org and I'll be happy to help you out!
For more tech tips visit states.aarp.org/mdtechtip.
About AARP Maryland
Contact information and more from your state office. Learn what we are doing to champion social change and help you live your best life.